Horizon VDI Instruction (Remote Windows Access)
1. Type “myhorizon.csusb.edu” on your Internet browser, and hit “Enter”
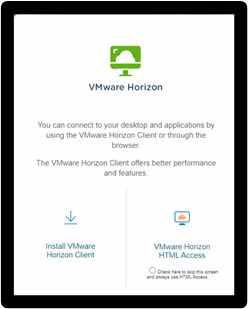
2. Click “Install VMware Horizon Client” to continue.
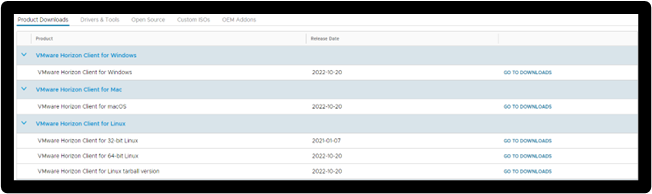
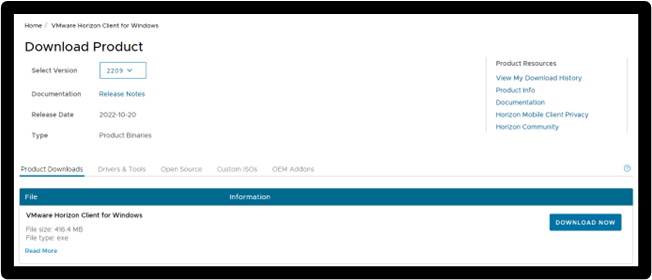
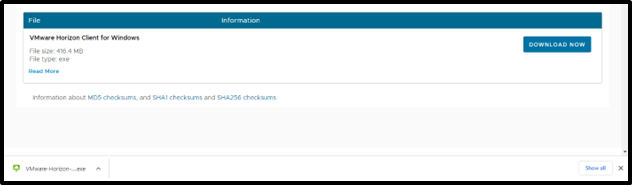
3. Choose the client that fits your operating system, and click “Go to Downloads” to continue. Next, click on “Download Now”.
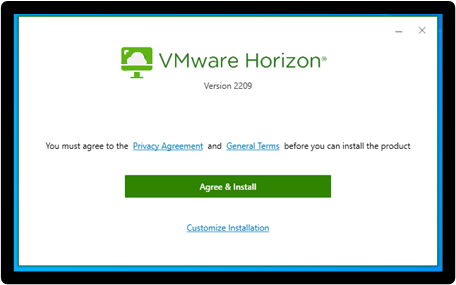
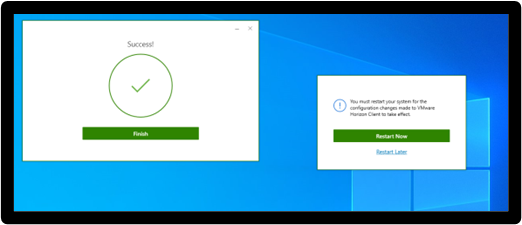
4. Once downloaded, on the bottom left, double-click on the file to start installation process, click “Agree & Install”. After the installation process is completed, click “Finish”, and then click “Restart Now” to restart your computer.
NOTE: Save your work before restarting your computer.
5. After the computer restarts, double-click on “VMware Horizon Client” icon on your desktop.
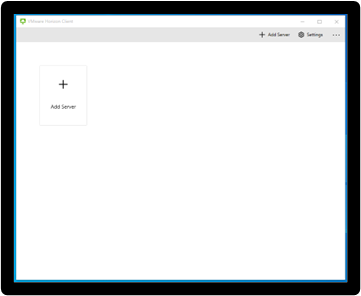
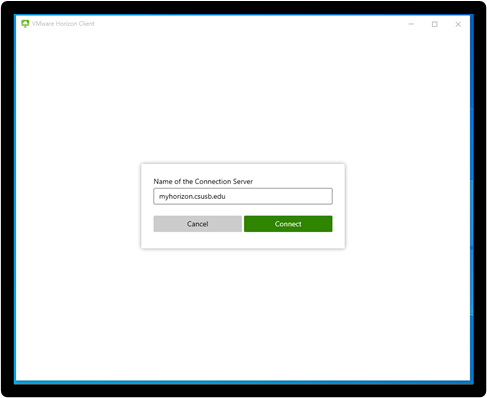
6. Click “Add Server”, and enter “myhorizon.csusb.edu”, and click “Connect” to continue.
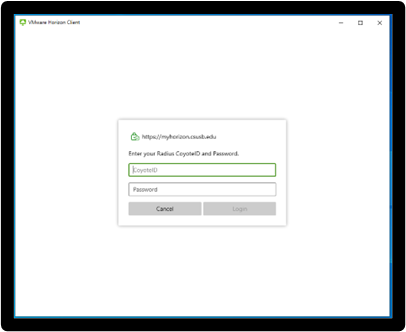
7. At Login window, enter your Coyote ID and Coyote password, and then click “Login”
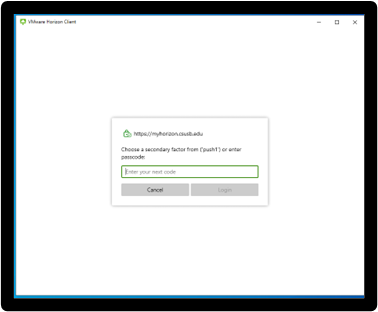
8. After logging in, your screen will show “Choose a secondary factor from (‘push1’) or enter passcode:” (there are two options to do this)
- You will type “push1” on “Enter your next code”, once you type “push1” you will get a notification from the DOU app to have access to the VMware.
-On the DOU app click “Show” to see the passcode and type it into the green box that says “Enter your next code”.
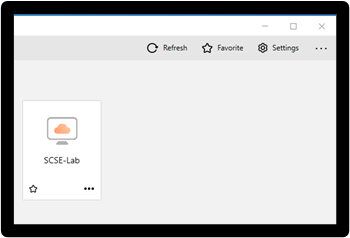
9. Double-click on “SCSE-LAB” to connect to the server.
How to Add a Folder to The Desktop On the VM
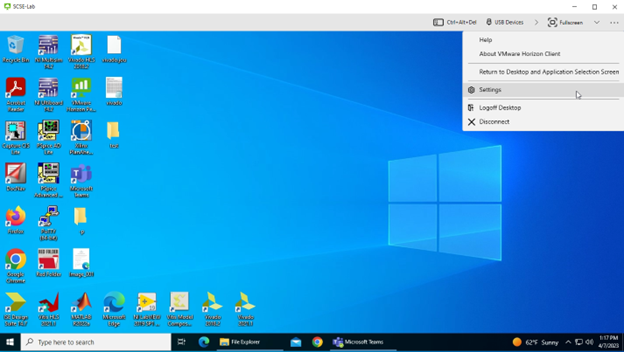
1. Click on the three dots on the corner to select “Settings” to open.
2. Click on “Drive & Folder Sharing”. Then click “Add”.
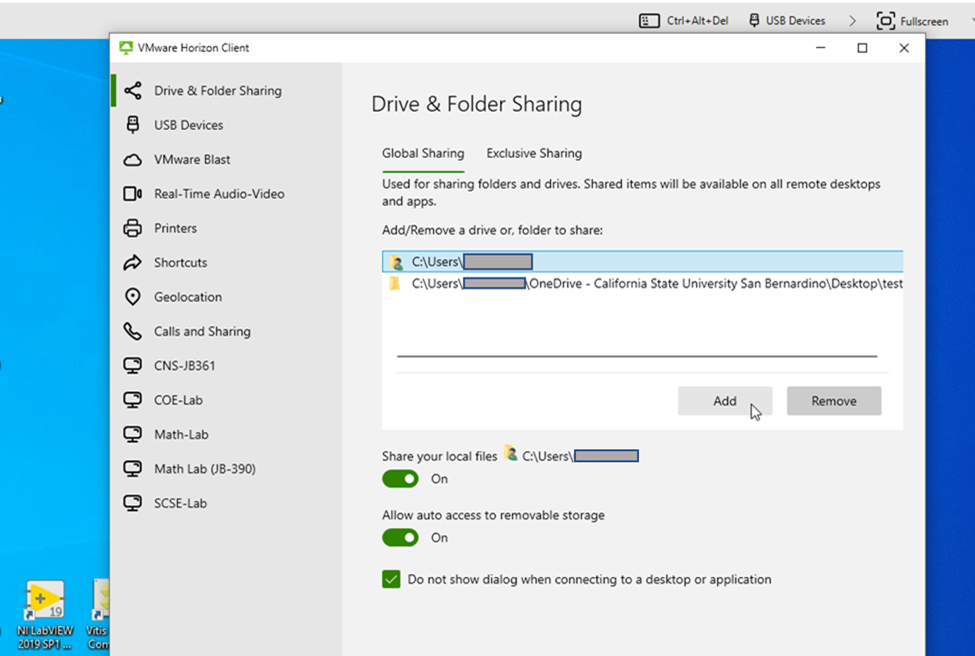
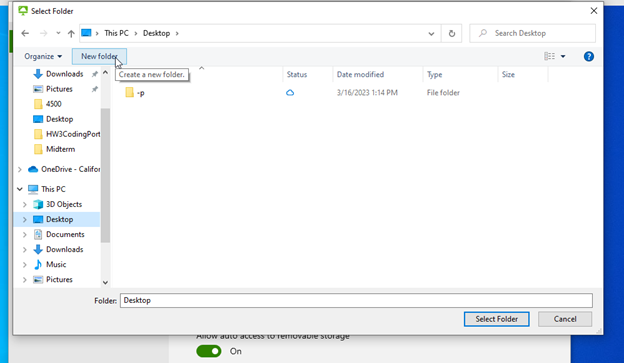
3. Select or create a new folder that you want to be seen. Then click on “Select Folder”.
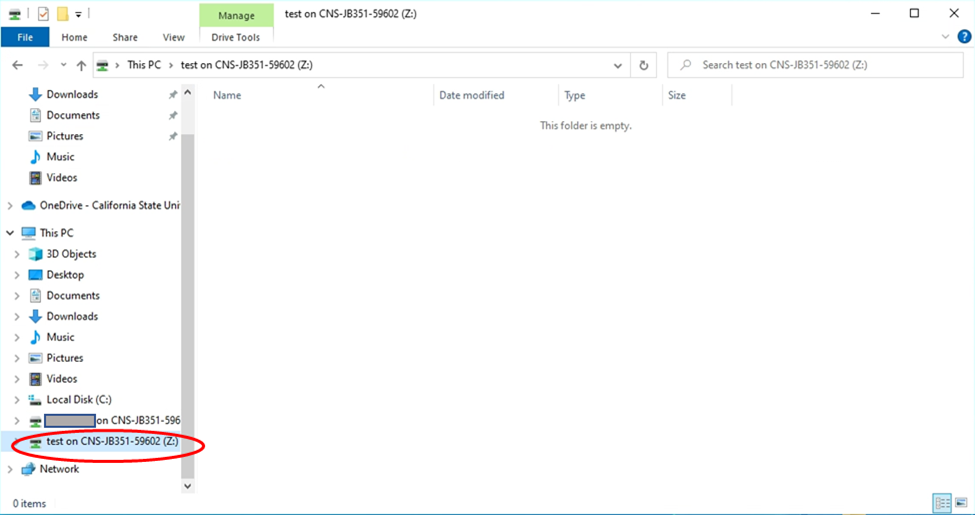
4. Once done, you can exit out of settings. Open File Explorer and it should display your new or existing folder.
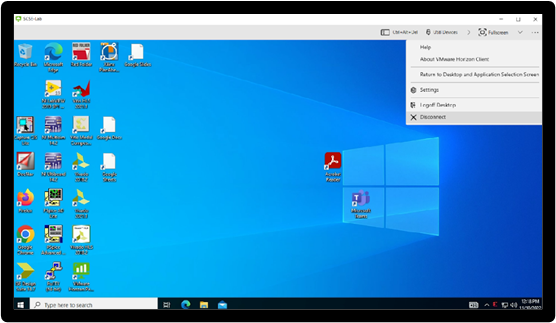
How to Disconnect From VM
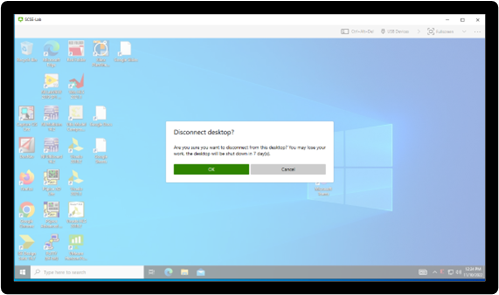
1. Once you are done, on the top right-side bar click on the 3 dots for “Options → Logoff Desktop and Disconnect” to end the session. Then, click on “OK” to disconnect.
-Logoff Desktop will close session
-Disconnect will leave session open and allow you to return to it but only for a limited amount of time.